So, as I’m getting ready for our training for new Faculty I thought I’d put together the steps for making a survey or collecting data. You can see some of my other posts on Microsoft Forms by clicking the link.
1. VISIT http://forms.microsoft.com and sign in with your Office365 ID/password. Or click on the FORMS button in the Waffle. Or click the FORMS button if you’re in OneNote. Remember that you or your School can sign up for Office365 for free.
 |
| Button in OneNote |
 |
| Button on the Office365 Waffle |
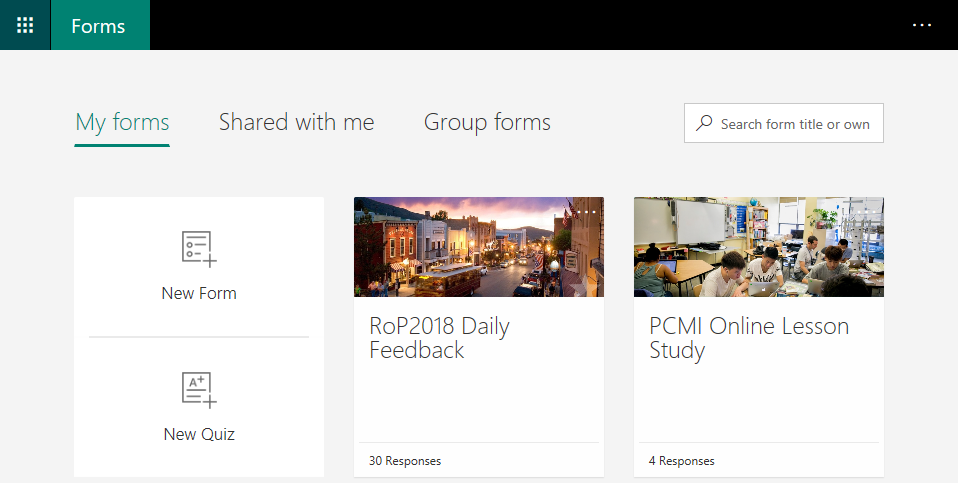
2. To keep this short, I’ll only be covering Forms part of Microsoft Forms, where you just collect data without “grading” or “providing feedback”. There’s a whole Quiz part of Forms that I’ll cover later. Too much all at once. So, CLICK on “New Form” or, if you already have a Form, click on its card. (You may also have Forms that have been Shared With You or Forms that you have access to as part of an existing Group, say Math Dept or your PLC.)
3. Click on the Title to ADD the Title and a short description. You also have the option to add an image to the Title bar — you get a quick Bing search or you can upload your own image based on any keyword. Notice that as you edit, Forms saves as you go.

4. Now, click on the ADD QUESTION button. You can add text, images or video to your question. And then as to the type of question, there’s a good variety of options:
- Multiple Choice
- Multiple Select
- Text — Short or Paragraph (you can restrict as to numeric content,too!)
- Rating – either by Stars or by numbers
- Date
- Ranking (given a list, put them in the order you prefer)
- Likert scales (you know, like Strongly Agree, Agree, Disagree, Strongly Disagree — but you can set whichever descriptors you want).
You can branch based on your participants’ responses.
And another feature I like is theme-ing your forms. It certainly helps to visually categorize your Forms by course/activity. Or, add a related background for the Form — as you can see by the example at the bottom of the screen, I used pictures of Park City, Utah as the background for the Forms I used during the Park City Mathematics Institute.
 |
| Multiple Choice/Selection Question example |
5. Now you’re ready to get it out to folks. You can make it anonymous, set a start/end date, email notifications. Once your Settings are done, you can click on SHARE and get it out to your folks with various methods.

6. Click on RESPONSES to see a graphical and table representation, or send it out to an updating Excel spreadsheet for better analysis, and from there send it off to PowerBI for an even richer analytical space.
One aspect I like is the quick notes on how long it is taking folks to complete your survey.
 |
| Auto-generated graphs & summary — or click on the Excel button for your own spreadsheet. Also, notice the Park City background. |


