So I was in the Lounge the other day and one of the teachers mentioned that she heard I used Excel for Visibly Random Grouping and asked me to explain it (previous blog post). Well, I use Excel just to assign my students to one of five tables – at the tables, they can sit in whatever arrangement they prefer.
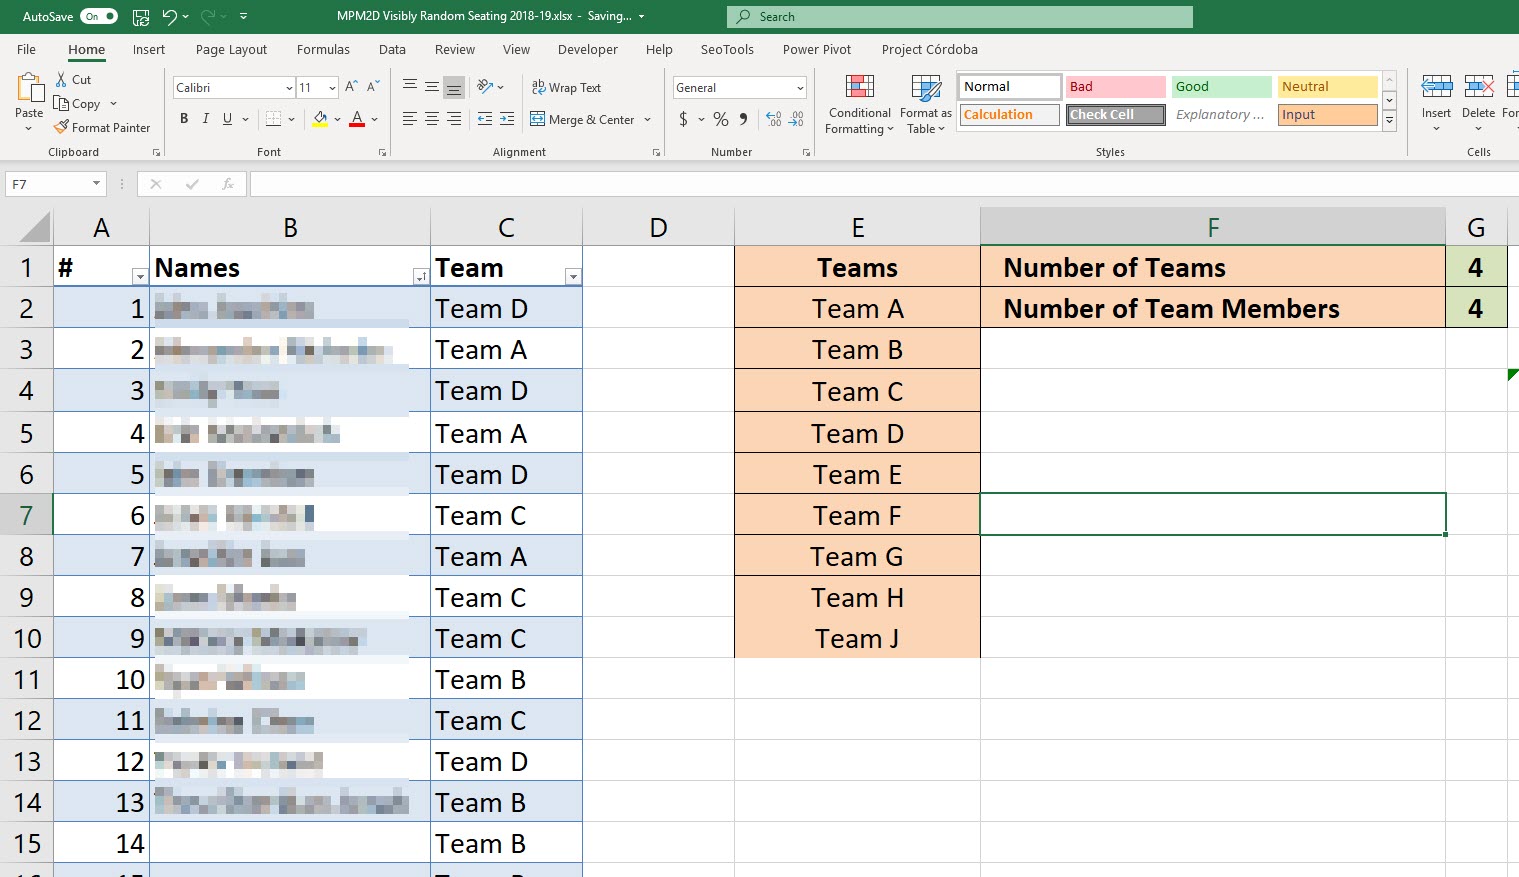
Well, she wasn’t happy with that so asked if she could have a tool that she could design her seating arrangment (sometimes a U, sometimes groups, sometimes rows/columns) and have the students randomly assigned in that.

Well I did a few searches online and there were a few apps but many of them cost money (no way, buddy) so during a class coverage where the students had free work time (i.e. I didn’t have to actual teach or ensure they were doing something) I whipped up an Excel macro (well, VBA, but you know what I mean) that would let her design the seating map and then drop the students in randomly.
You are welcome to download the Zip file and use/edit it as you like : link to download.
The process aims to be straightforward (the teacher did say later in the day that it was the best email she had ever received).
0) Open the spreadsheet in Excel and click ENABLE MACROS (otherwise the NEW button won’t work.)
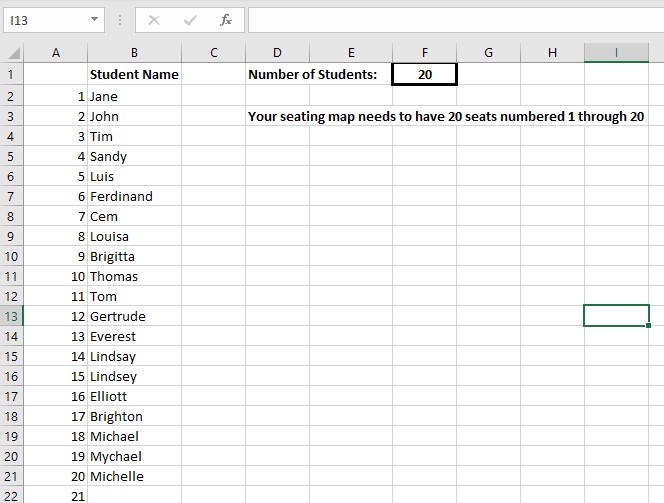
1) Put in your student list
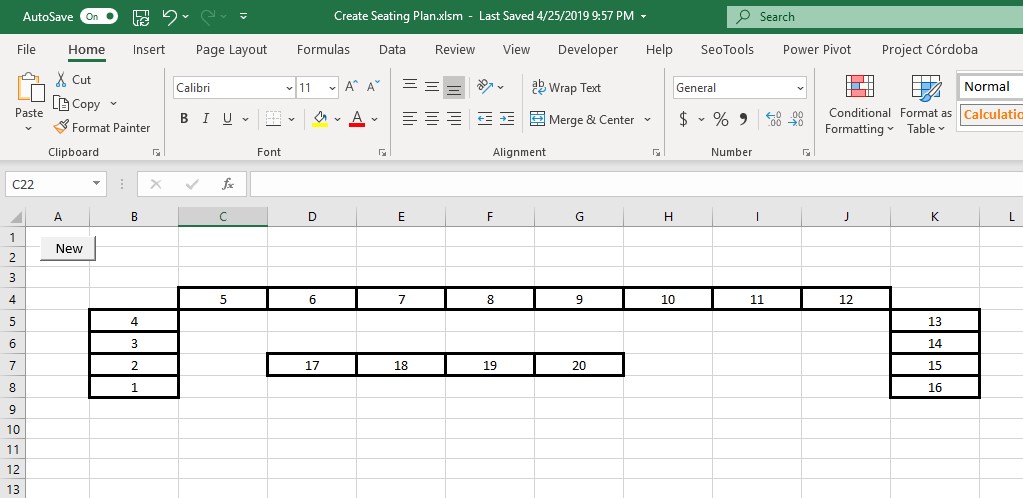
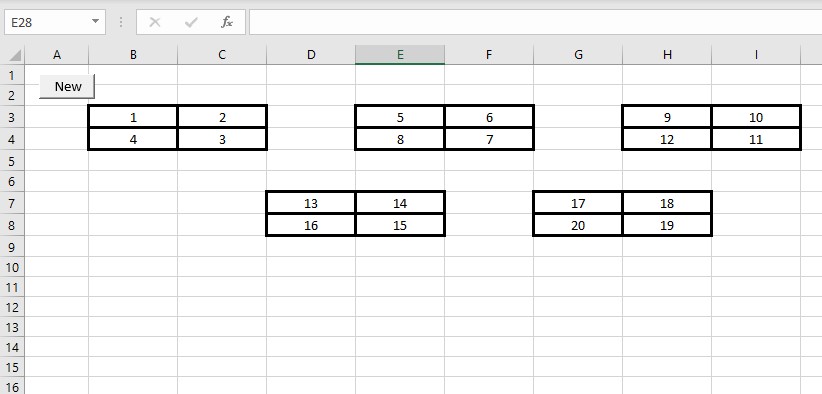
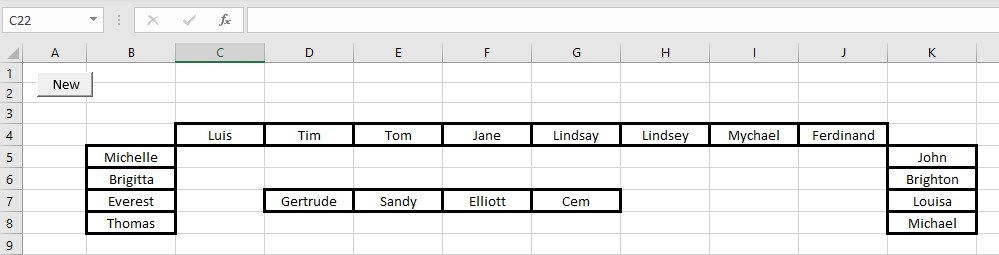
2) Design your map. The only requirement is that you need have a “seat” (cell) numbered 1 through to the number of students in your class, no repeats. These will get replaced with the randomized students. The teacher has already created a map of the U shape, the four-table groups and a row/column for testing. Just copy the Seating sheet and design your classroom!
3) Click the NEW button. It will create a new sheet dated with today’s date with the randomized students shown. You can project, print or email this sheet.
That’s it. Let me know if you find this useful.
(from the Excel file, the Instructions sheet)
Random Seating Plan Generator
Instructions
Any questions? @sig225 on Twitter or calarmstrong AT onenoteschool.com
Class Lists
Fill up the student list with your class list, one per cell in the B column of the ClassList Sheet, up to 50 students.
The sheet counts your class list so you don’t need to change the number at the top of the sheet.
Seating Maps
Use the sheet to design your seat arrangements — it doesn’t matter how it’s designed or how much space you use.
You can color code, fill, use fonts, italics, add images, whatever. I use the BORDER to indicate the “seat” for each student but feel free to get creative.
The ONLY requirement is that you have each cell that represents a seat be numbered 1 through your # of students (no repeats).
If you want a student to always be in a particular seat, do not put them in the class list but instead put their name in the seat you want them in.
You can have as many different seating arrangements as you want — but it will only let you have one seating arrangement per day (it overwrites the day).
You can delete the daily sheet if you don’t want to save it but don’t delete your Seating maps – they can be re-used (and cut-and-pasted between Classes).
When cutting & pasting between classes be sure not to copy the NEW button — just the seats!
If you want an additional seating map, right-click the SEATING tab and chooose MOVE
Then, in the PopUp click on CREATE A COPY and click OK.
You can rename the “Seating” sheet to match your needs.


