Taking a brief break from my “Getting Started with OneNote Class Notebook” series (you can start that one here)…
This is a little advanced so if you’re not comfortable setting permissions inside of Office365 you may want to avoid this. Or set up a Class Notebook to play with so that it doesn’t affect any existing Class Notebooks. Yeah, the latter is a good option.
One of the great powers of OneNote is that you can do some really neat permissioning of the Section Tabs. When the Notebook is created, of course, it gives you an “open permissions” on the Collaboration Space and student-read-only on the Content Library. And then each student space is wide open to each individual student.
But we’ve found that occasionally you want to mix up the permissions a little. For example, you could create a space in a student section for your private notes that the student couldn’t see, or maybe you want a tab in the Collaboration Space that students couldn’t edit.
Here’s how you do that:
Go to your OneDrive for Business and go into the Class Notebooks folder.
The URL will look like this:
https://applebycollege-my.sharepoint.com/personal/carmstrong_appleby_on_ca/_layouts/15/onedrive.aspx?id=%2fpersonal%2fcarmstrong_appleby_on_ca%2fDocuments%2fClass+Notebooks&AjaxDelta=1&isStartPlt1=1472482816818
Click on the far right of the URL and get rid of everything up to the Class+Notebooks
Now, type %2f and the name of your Class Notebook. Since my Class Notebooks is named “MPM2D-2 2016” it means I have to type MPM2D-2%202016 and I get:
https://applebycollege-my.sharepoint.com/personal/carmstrong_appleby_on_ca/_layouts/15/onedrive.aspx?id=%2fpersonal%2fcarmstrong_appleby_on_ca%2fDocuments%2fClass+Notebooks%2fMPM2D-2%202016
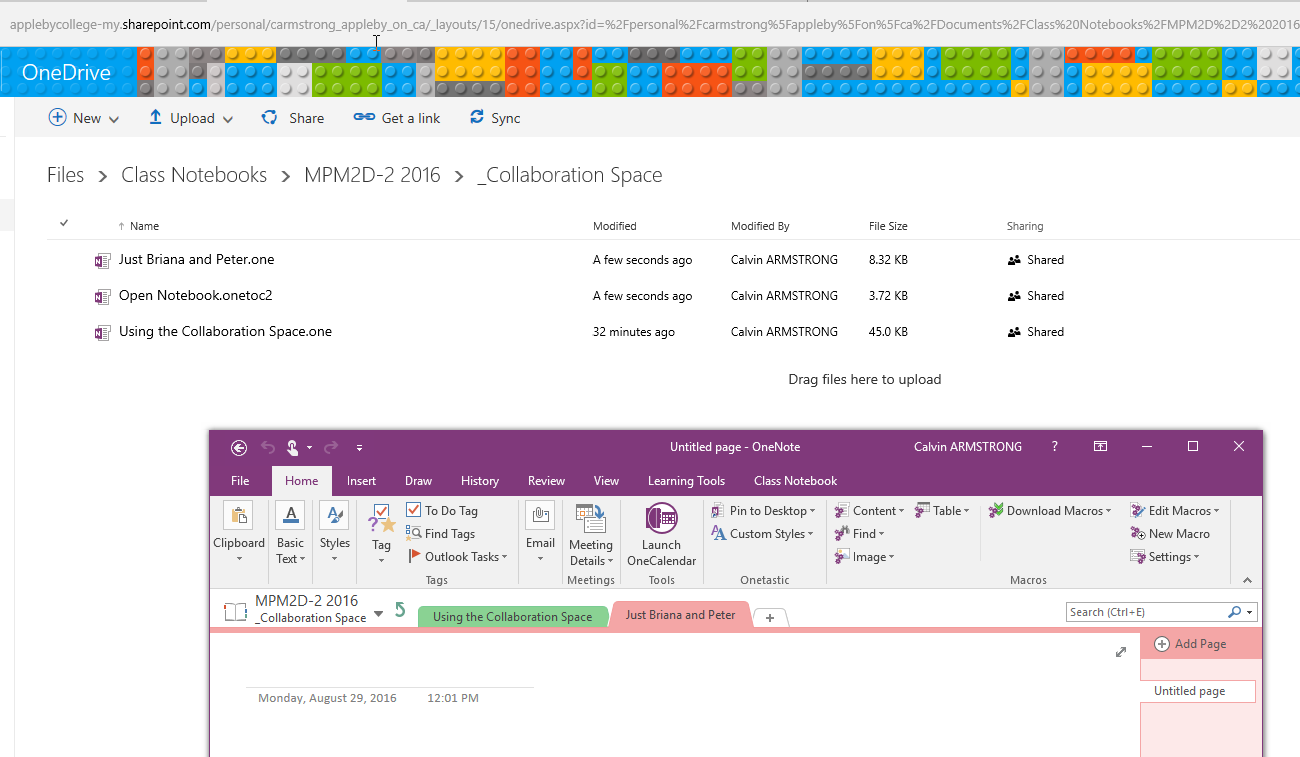
When you press ENTER you should now see the exploded version of your Class Notebook.
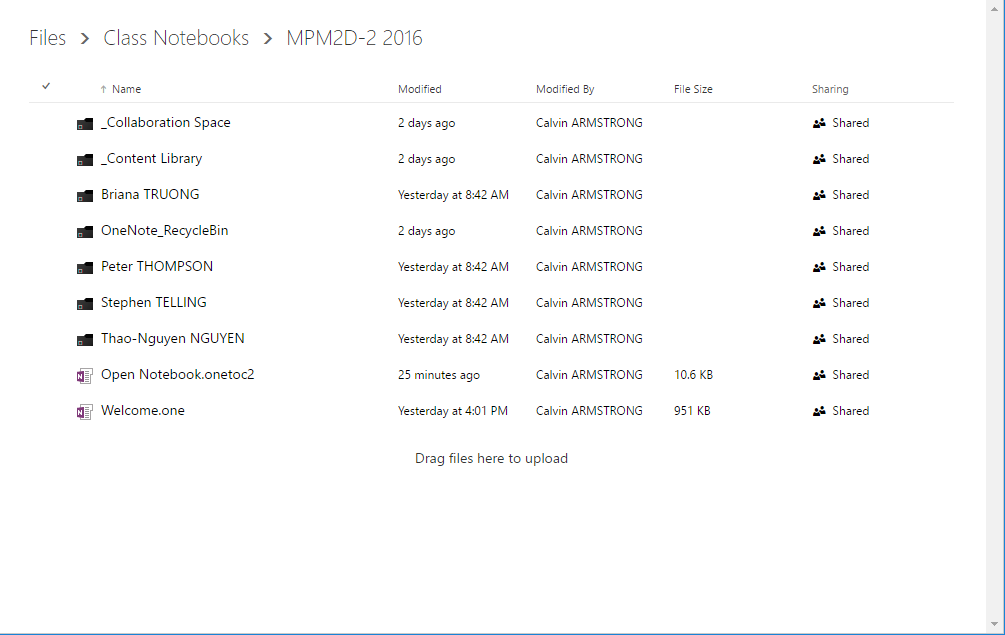
Notice that each Section Group is a Folder and each Section is File (ignore the “Open Notebook” file).
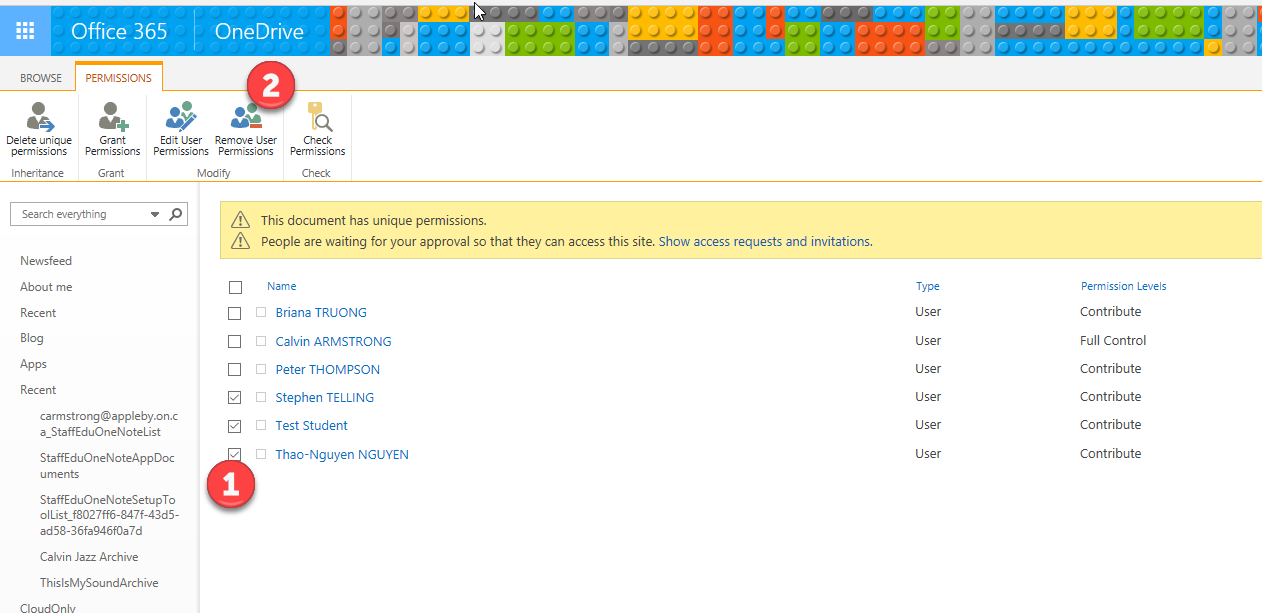
So if I go into _Collaboration Space you’ll notice I have a Section called “Just Briana and Peter” … right now, though, anybody could go in there. We’re going to make it just Briana and Peter…