We’ve had almost four years with our OneNote ClassBinder, having rolled it out to every class from 7 to 12, math to languages to phys-ed every year. In the first year we had 85% of classes voluntarily use it — that’s the power of handing teachers the open structure of OneNote! (People always ask about training… here’s my notes on that topic.)
The easy part is already done by OneNote and the OneNote ClassNotebook Creator (get them both free here http://www.onenoteforteachers.com/ !) OneNote gives you a wide open canvas for any type of content and the ease of automatically syncing across any device. The ClassNotebook Creator creates the structure that teachers & students need to use OneNote effectively, without having to think about it.
So, here’s the Five Next Steps once you have the OneNote ClassNotebook Creator run:
1) Put the important stuff “Above the Fold“
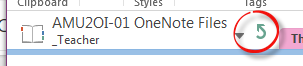
Take over the introductory page and make it your Announcements/Course Plan page — put what’s most important right there as soon as you look at the Notebook. And it’s always just a green up-arrow away (if you keep clicking the green up arrow, you get to the top of the Notebook…)
When you first open the Notebook, the “top” of the Notebook is a series of pages meant to provide a tutorial for OneNote. You can edit this with whatever you want. We even rename it to “CP”. You may notice that we keep our Section Names as short as possible to conserve horizontal space.
We made ours a Course Plan common across the school so that students, parents and other teachers (including substitutes) would know what was being done each day as well as a history and future plans. It’s been very successful!

This is what the opening pages look like when you first use the OneNote ClassNotebook Creator…

… we get rid of them, add a table and fill in one cell for each class. We broke it up into terms (1) so there’s a minimum of scrolling. We also track the Curriculum Expectations for each day (a requirement of our Ministry) on the sub-page. We’ve standardized this Course Plan so that the HW is bolded at the bottom of each cell (2).
2) Tag… you’re now Link-ed
One metaphor that can be useful to new users of OneNote is that it’s similar to a wiki — you can create pages, as many as you want, put anything on them and link between and beyond them. In OneNote, you can link internally to paragraph, pages and sections — just right click the object and it will give you the direct link to that object! — as well as to external resources. You can see an example in the Course Plan in row (2) above but in the screen shot below you’ll see that the teacher has both external links to webpages AND internal links within her Teacher Content Library (1). She links to the homework pages that are in her Teacher space in (2) and (3) and both to the outside web and her HW in (4). This makes it a lot easier for students to find their work.

 Why does she tag by date and invisibly tag her homework & deadlines? Because OneNote not only lets you search by Tag (well, honestly, it indexes everything so that’s actually nothing special) but it also lets you pull together a summary of Tags in your Notebook. So she can click FIND TAGS button (on the Home Ribbon) and the right window shows a Tag Summary for the Notebook, the Section, the Page (see the granularity?) …
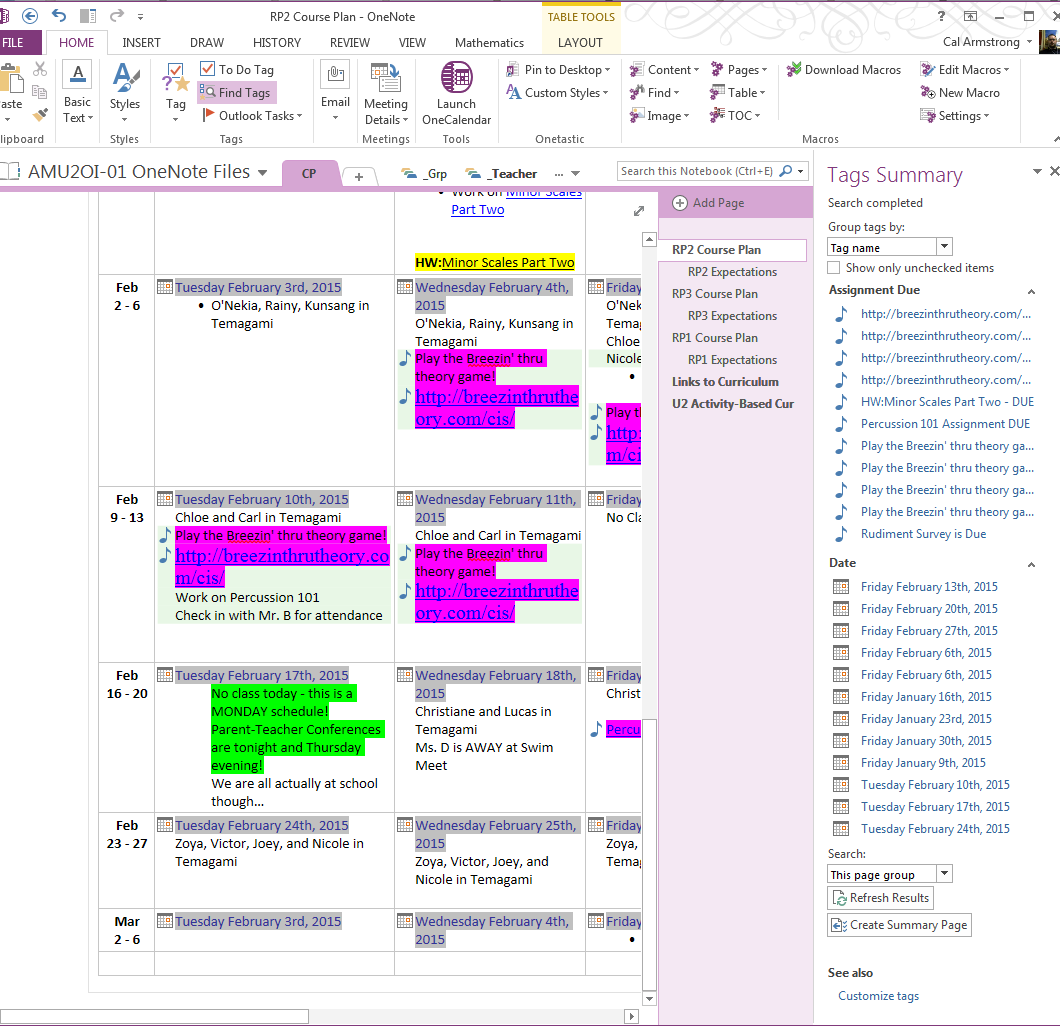
3) Set up individual group space
The Collaboration Space in OneNote is a great opportunity for the whole class to come together and share and create knowledge. But sometimes, you know, you just want the students (or faculty) to work in a separate group that offers some privacy & security. With a little hack, you can have individual spaces for smaller groups. Here’s how we do it:
What’s nice about this is that you can have groups of any size AND also bring in other participants … we’ve created ClassNotebooks between classes, courses and grades to allow for cross-curricular and multi-age assignments.
4) Define a space for assignment collection
When the first sketch of the OneNote Class Notebook went up on our whiteboard, we made sure there was a defined space for students to put the work they wanted to formally submit to a teacher and where a teacher knew they could “collect” it from. We call it _A (for Assignments). Now, a teacher can go into any student’s section and provide feedback on the student’s work but we still wanted to be able to have work we specifically want to look at, formally provide feedback and return it. And we didn’t want to have to look for it — even searching for the work (which works really well because OneNote indexes everything, including handwritten work and audio) adds another step. Remember our overall goal is to always reduce clicks — one click across 120 faculty each day adds up!

There’s no work to do this … hopefully when you run the OneNote ClassNotebook Creator you named a section in each student for this purpose (we use _A as I said). That way, it’s automatically there without any work! Of course, if the horse is already out of the stable, you just have to have each student right-click in their Section to create a Section called _A and move it to the front of their tabs. That should work for 90% of your class and for the 10% you can create it when you notice it missing.
5) Create a digital portfolio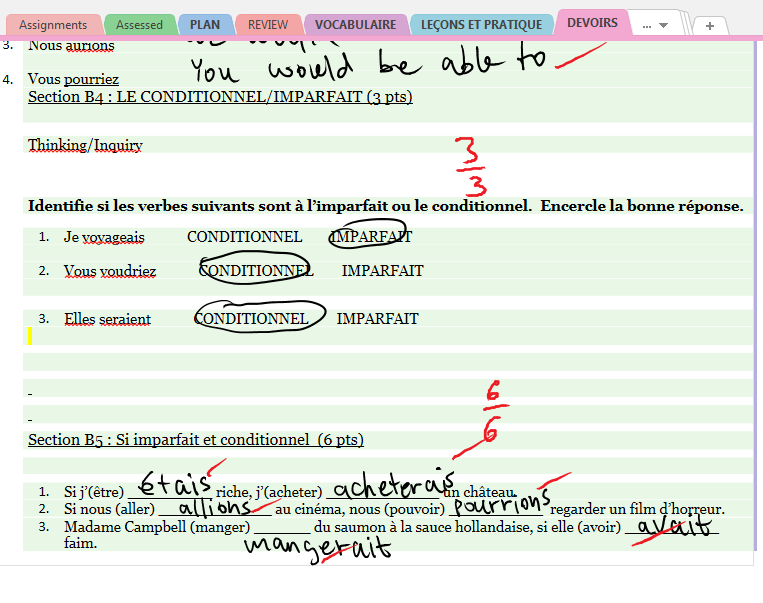 Once you’ve collected student work and provided assessment, you want their legacy of learning to be documented. We used to use file folders or binders to keep student work in but that kept it out of the student’s hands (no offence to students but if you asked them to keep the file folder a certain percentage would go missing). With the OneNote ClassNotebook you can define a space in the student section where students know they can go to to see their formally assessed work. We’ve set it up so that they can read but not edit the pages — but they can drag a copy of the page back to their section to keep working on.
We call it the _R section (for Returned) – what’s really nice is that as the teacher I can reach back into previous year’s OneNote ClassNotebooks for exemplars for present students. I, and of course the student, can also survey the development the student has made over the year.
Here’s how we set it up: A digital portfolio
That’s the first five … the amazing thing about OneNote is how flexible it is in the objects it can contain and how you can structure it. In the past year Microsoft has moved mountains in making different versions to work more like the Desktop version — and folks like Darrell Webster (web page) are adding layers on top of that. We’re only at the beginning of creating an incredible learning space that builds on what students, teachers and parents are familiar with and, through digitization, makes student and teacher knowledge construction connected and usable.


