So as a fund-raiser, my extracurricular sold Krispy Kreme donuts. To make things easier for me, I created a Microsoft Form that would track each sale — I didn’t want to have to read some kid’s scrawl from a paper form, or god-forbid, lose said form (that I would likely do more than the students).
But, of course, I wanted to confirm to the person that they had indeed purchased donuts from us. In comes Power Automate! And I had to show off, so I both emailed them and used a Teams Chat message. Here’s how:
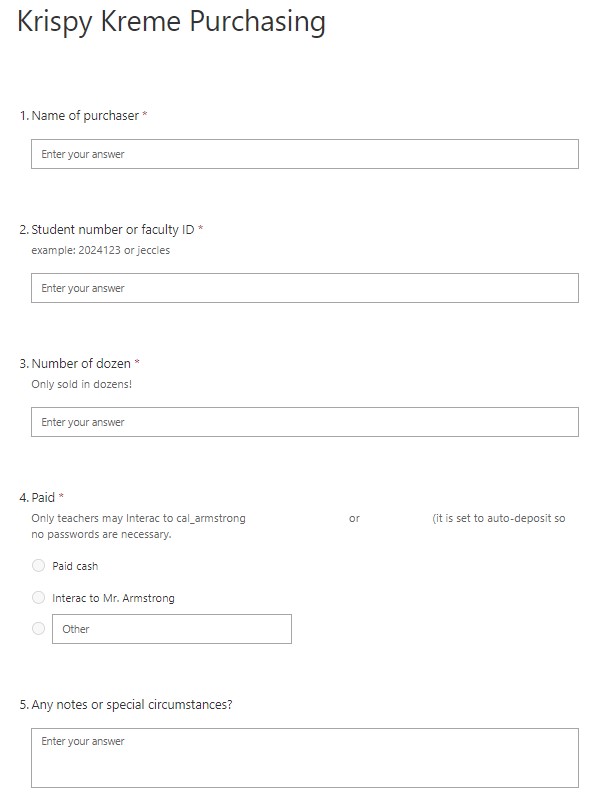
Create your Microsoft Form as usual — be sure to capture their email address! In mine, I just snagged their Student Number or Staff ID and then added on “@myschool.com” when I was ready to send the message — it would be easier to just grab their emails. You can collect whatever else you want, including long pieces of text, and push that back to them.
Okay… Form Done!
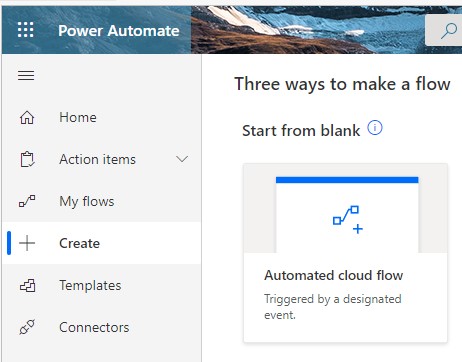
Now, go to PowerAutomate. It’s an option in the Office365 Waffle — although if you’ve never used it you may have to click on ALL APPS.
Once there, you’re going to CREATE a new PowerAutomate Flow (a Flow is just a program — well, it’s simpler than that even, it’s just a recipe) and it’s going to be one that happens as a result of something else happening — i.e. when someone fills out your form, this Flow will kick-in. (You can also read about a timed-Flow in my earlier post here.)
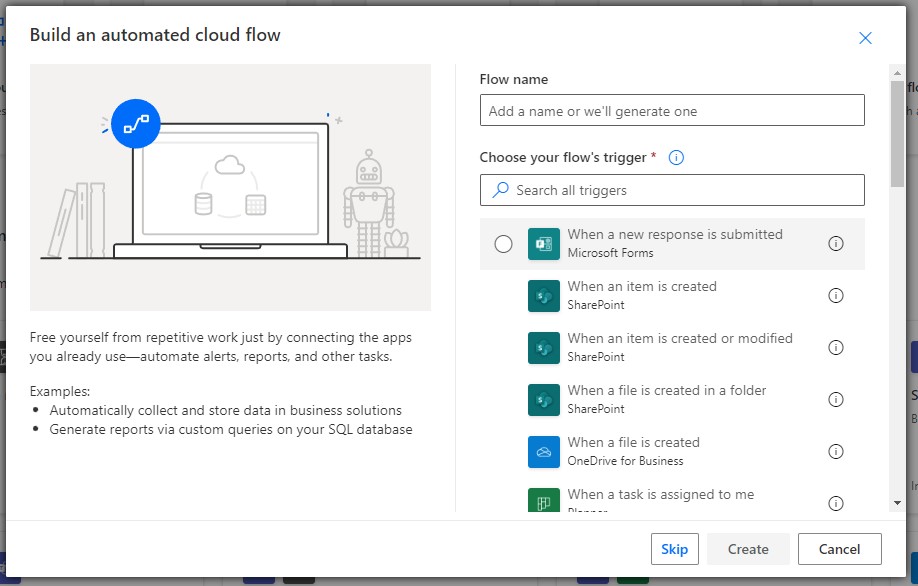
Now, give it a name and indicate what has to happen — in our case, we want it to kick in when someone submits a new response to our Form. There are plenty of options — you may find one useful for a different purpose!
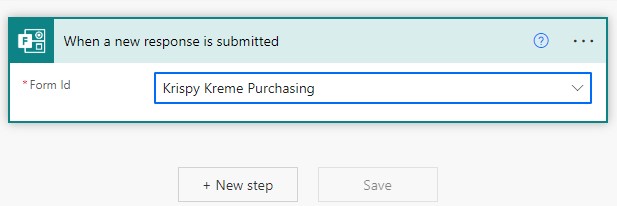
Okay, so the first step in our Flow is “something was added to our Form” — but we have to tell Flow what Form. Choose the Form you created (it knows all your Forms!).
We have to tell the Flow to read what the person submitted to the Form, so we Add A New Step called Read Response Details. This pulls that information in so it’s able to be used.
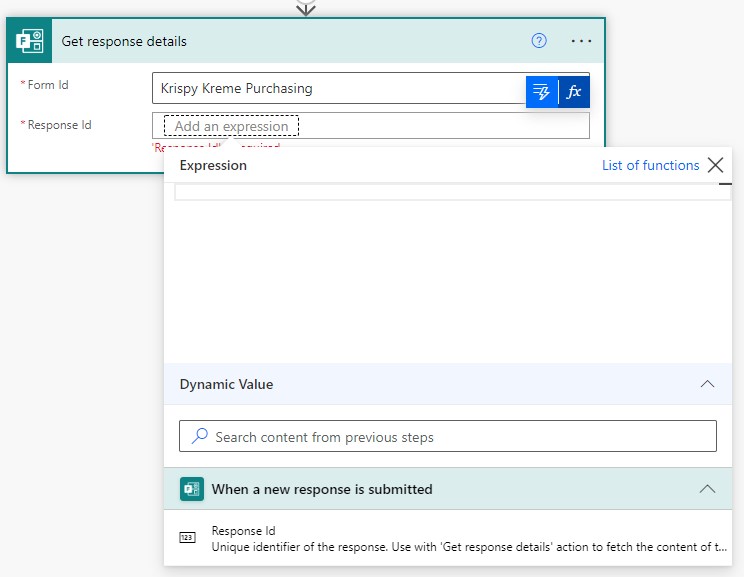
Click on +NewStep and it will ask you what you want to add — there are A LOT of options, and some are paid options (none I use!) but it’s easy to find things. Since we want to read our Forms results, I just type that I want FORMS and it only shows me things about Forms. We want Get Response Details so I click on that. It asks me for the Form Name again, and then for the ID of the new submission — HOW WOULD I KNOW THAT?!? Well, fortunately, Flow knows, so I click in the space and then click on the LIGHTNING BOLT that pops up and in the list, it will show you RESPONSE ID … click on that, and Bob’s your uncle!

These previous two steps are ALWAYS the same when working with a new Form submission. The first one is automatically created because we said we wanted to do something when the Form is triggered with a new submission, and then the second step is read the Form and stuff the results into “Response Details”.
Okay… we’ve got the data now… let’s use it to create an email and a chat (you can also just do one — both were overkill but I was showing off).
Click on +NewStep and this time, we want an Outlook option to send an email.
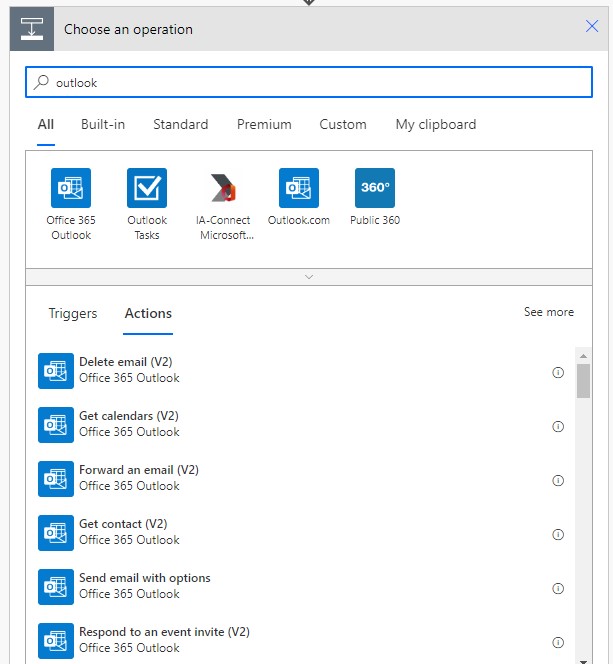
As you can see, there are a LOT of things you can do with Outlook — in my case, I choose to send an email (you’d have to scroll down in the list you see above to see SEND AN EMAIL (V2) that I chose.
NOTE: The first time you ever do this, Office may ask you to connect Outlook to your Flow account. This should be automatic (i.e. agree to every pop up).
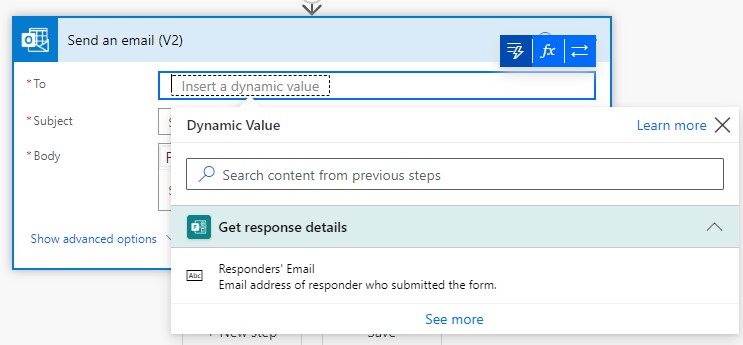
Now, I fill in what is needed. The TO is filled in with the Student/Faculty ID that is from the Form. Click on the LIGHTNING BOLT icon that pops up when you click in the TO box and it will show you all the questions from your Form. In my case, I pick the Student/Faculty ID (because I had people filling in the Form for others buying donuts, I couldn’t use the Responder’s Email which would be the case normally).
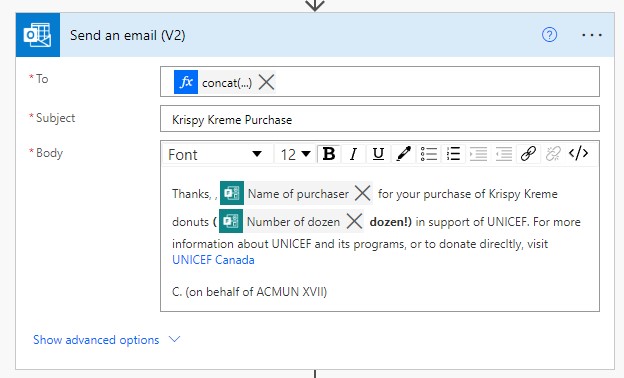
I put in a Subject line and then I create basically a mail-merge document. In the Body of the email, I write an email and whenever I want content from my Form, I click on the LIGHTNING BOLT and then choose information from my Form. In my case, I want their name, how many dozen of donuts, and you can’t see it in the screenshot, but also the Notes were below my signature. Most times Notes were blank so I wanted them to stick out.
That’s it. Now, every time someone enters a response to your Form, they’ll get an email back.
Well, almost every time. If you use the Responder’s Email option, you’re likely safe, but because I used information that someone typed in, I did have two people mis-type and they didn’t get emails. (If I had done more work to struture my Form or clean my data, that wouldn’t have happened, but sometimes, spending more time doesn’t save time.)
Alright… now to do a Chat we do the same thing. Add a New Step and this time, search for TEAMS options. Choose POST A MESSAGE IN A CHAT OR CHANNEL. Again, if this is the first time you’ve ever used Flow, you might be asked to connect Teams with Flow; just agree to everything 🙂
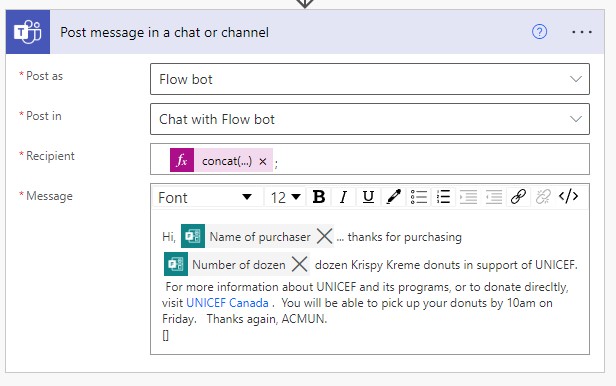
I chose to Post as FlowBot (which is an automated Teams system) rather than myself because I didn’t want to get all the Chats showing up in my Teams — you may want to send them as yourself depending on your goals. And since this was an individual purchase, it went into Chat rather than a Teams Channel. (You might want to use a Teams Channel if your Form collected “Employee News” and you wanted to post the submission into your Employee News Teams Channel. Now, I know someone is saying “that’s a horrible idea; people will post stuff we don’t want” but you can add an 3rd person authorization step to your Flow to prevent that! It pauses the Flow until the 3rd person clicks yes in response to a question they get emailed/chatted!)
The Chat gets formed just like the email. I put the Recipient the same email address as the email and the Message is the same as the email body.
The first time you create a Flow, it take a long time but as with anything you get pretty quick at it — and the usefulness starts to increase. Plus people get the information they need when they need it!
Flow is part of the growth of citizen coding — allowing users to take power into their own hands to get things done that need doing. Grab some of that power for yourself! And if you need a hand, just holler!


[…] https://onenoteschool.com/hey-you-just-bought-donuts/ […]
[…] https://onenoteschool.com/hey-you-just-bought-donuts/ […]